Monday, February 28

Almost forgot contact paper & turn stuff over

Sent from my Samsung Epic™ 4G

Last 3 small stones

Sent from my Samsung Epic™ 4G

3D mold ~ cardboard to level it & freezer paper w/ wax side up

Sent from my Samsung Epic™ 4G

Want to make mosaic end tables

Sent from my Samsung Epic™ 4G

Sent from my Samsung Epic™ 4G

Sent from my Samsung Epic™ 4G

SHOULD have taken a placement pic before pouring mortar. Now its a digging expedition

Sent from my Samsung Epic™ 4G

Sent from my Samsung Epic™ 4G

Sent from my Samsung Epic™ 4G

Sent from my Samsung Epic™ 4G

Sunday, February 27

Sent from my Samsung Epic™ 4G

Maybe this time I get it right

Sent from my Samsung Epic™ 4G

Try again

Sent from my Samsung Epic™ 4G

Arrange the stuff before preparing the mold

Sent from my Samsung Epic™ 4G

Wal*Mart Kit

FOUND in the craft section of WalMart - $10 per kit
ONE mold per kit - i could ONLY find the 3D mold
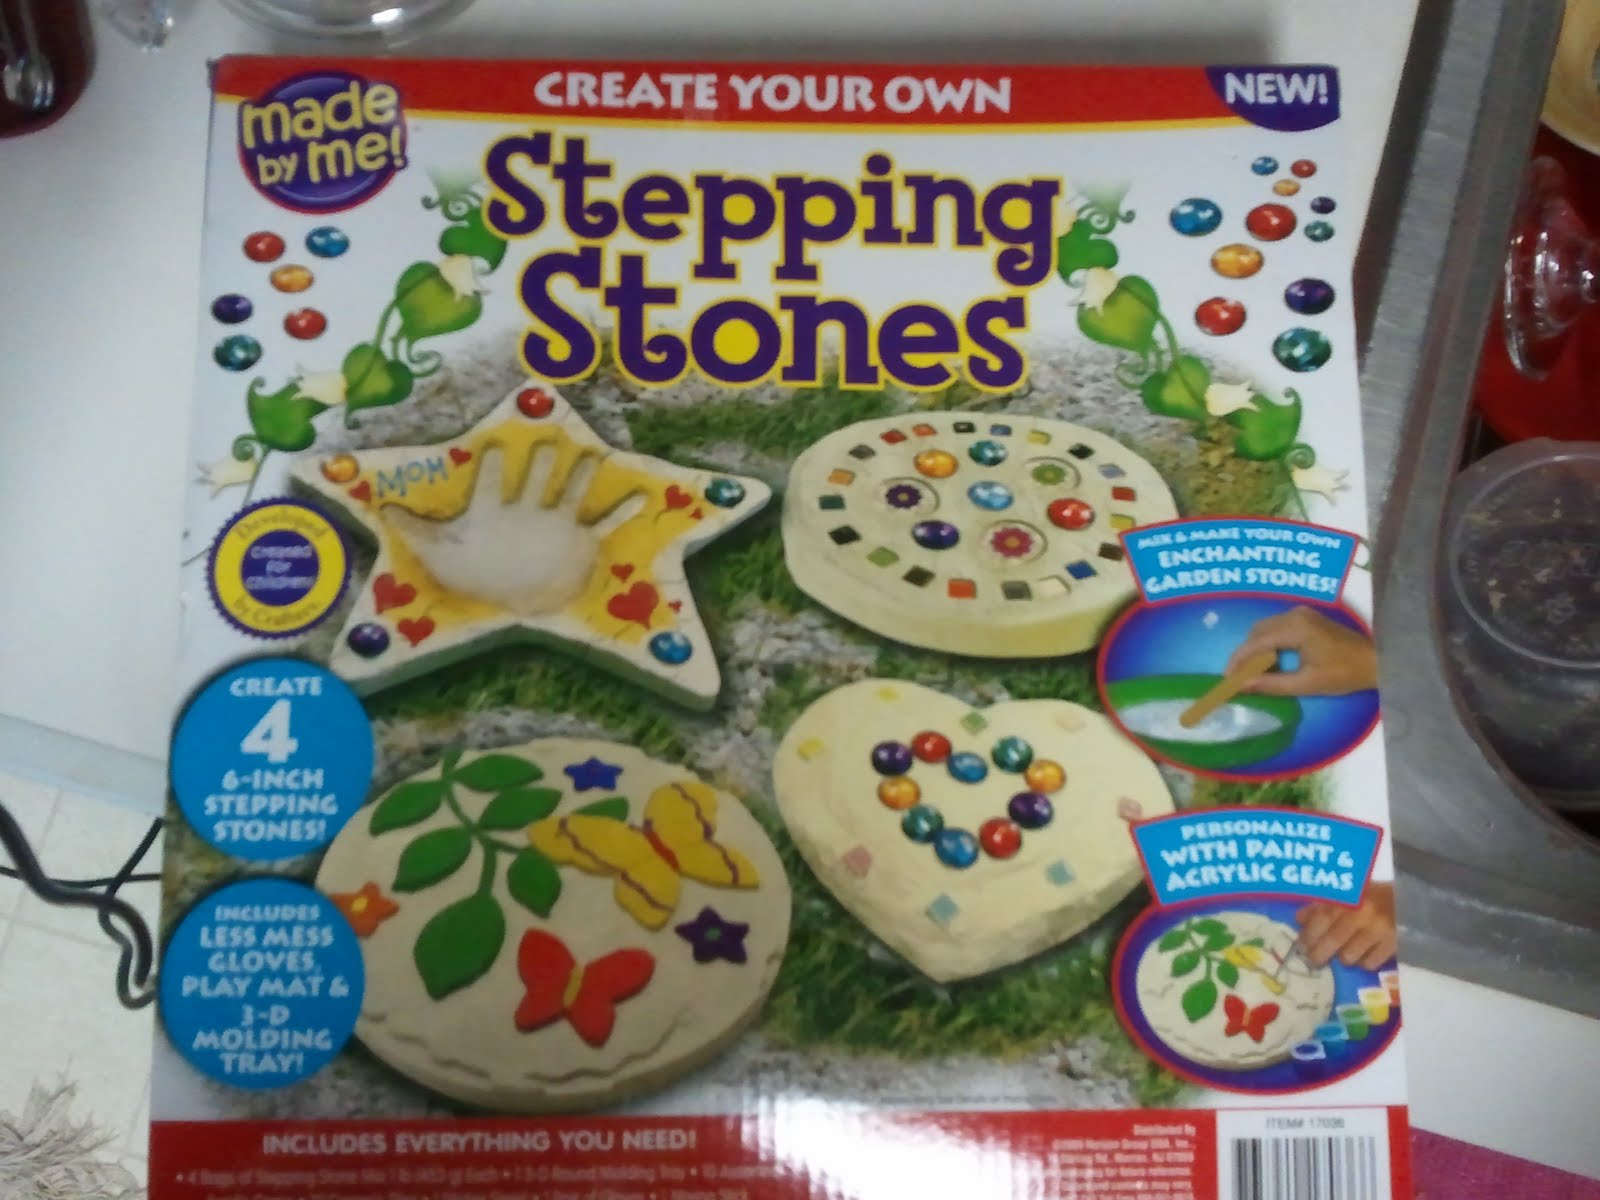
GREAT beginner kit

has drop cloth
mask
( for mixing so you don't inhale mortar dust)
gloves {i bought better}
stir stick (use wooden spoon to mix & place mortar)

MOLD - has ONE mold - it's the 3D mold ( can be used again)
MORTAR for 4 stones
6 Paints to embellish & ONE brush (buy 5 more)
Stuff to embellish - tiles, gems & stickers

FIRST OFF:
it says use mold to mix mortar - i cut a plastic gallon jug (BUY a bucket)
it says use 1/2 c water, a little at a time - i used 3/4 - 1 cup all at once (buy a measuring cup for the kit @ $ store so i don't accidentally use it for food)
it says it sets up in about 10 mins {REALLY FIVE}
says it ok for a child - {an adult SHOULD do the mixing & pouring}

i made 1 with the mold, painted it & then sprayed it with acrylic sealer since i will
be using the stepping stone outside so it HAS to be waterproof
i WILL buy more brushes if i do another painted one

you CAN get most of the stuff you need @ the $ STORE

when i have a craft i do repeatedly, i have a container that holds
ALL of the equipment i will need in one place
NOTHING worse than having to go look for
something as you need it

PLASTIC CONTAINER TO HOLD ALL THE SUPPLIES

dropcloth can buy one OR a shower curtain {72" x 72" heavy vinyl in
different colors that can be folded up with the mess inside,
taken outside to be shaken off & then, hosed / sponged off
}
bucket easier than mixing in the mold
stir sticks buy 3 wooden spoons {easy to mix with & can use
the spoon to PLACE the mortar where you want it
when there is a design you are working with
}
scissors to cut mortar bags, paper & other stuff
markers / pens for drawing designs
writing / drawing paper for drawing designs on
2 c measuring cup so you don't have to use one that is meant for FOOD
plastic gloves (disposable work best)
surgical /cold weather mask ( to avoid inhaling mortar dust)
LARGE zipper bags ( 2 gal)
tooth / nail brushs
vaseline
contact paper
wax / parchment paper

FOR EMBELLISHMENTS
paint brushes & paints & acrylic sealer
glass
tiles
gems / vase fillers
beads
stones
pebbles
shells
PRE-MADE mosaics
craft items

to MAKE the stepping stones

spread drop cloth on work space
pick the mold you will use
determine what you want on the top
THIS METHOD is similar to a PineApple UpSide Down Cake
the design is put into the mold before the mortar
when it dries, theoretically, it's done except for clean up

since i will be using the 3-D mold & i do NOT want the uneven top
i will place a thin layer of pebbles in first to level out
the top of the mold
THEN, i will cut a piece of paper to fit inside the mold
THEN i will pour the shells, pebbles into the mold
I will then, mix the mortar & pour it into the mold
after it sets up - i will pop the stone out of the mold
SHOULD get the effect i want
when i used the 3D mold before - the unevenness of the top
caused the pebbles & stones to not stick well

FOR the solid mold
i will plan a design using different types of craft things
glass, tile, gems, acrylic pieces & brass
FIRST PREPARE THE MOLD
put a thin layer of vaseline on the sides of
the mold {similar to greasing a cake pan}
cut a piece of paper to fit inside the mold
then cut a piece of clear contact paper to fit
over the paper & inside the mold
peel off the back so the adhesive is exposed
SECOND PREPARE THE DESIGN
place the stones & things onto the exposed
adhesive {this helps keep the design intact when you
pour the mortar into the mold
}
THIRD PREPARE THE MORTAR
using the scissors, cut the top of the bag of mortar off & pour
the powder into the bucket
add the water & mix with a wooden spoon till the consistency of
a thick cake batter
FOURTH PUTTING THE MORTAR INTO THE MOLD
using the spoon to place mortar over the design - then pour
the remaining mortar into the mold
get the spoon wet & smooth the top of the mortar till
it is smooth
LET IT SIT FOR 8 HOURS

UNMOLDING
take a 2 gal zipper bag - place the mold with the mortar
into the bag { this will catch loose pebbles or anything
that did not get attached to the mortar}
start popping the mold on the sides which forces the
stone to pop out - careful not to DROP the stone
whatever did not stick to the top of the stone
will be inside the bag, easier to re-use & clean up
CLEAN UP THE STONE
using a tooth brush OR fingernail brush - brush the bottom & sides of the stone
to loosen any mortar over the drop cloth
turn the stone over & if you have loose items on the top of the
stone, you can brush them off into the zipper bag
IF you used something that embedded into the top of the stone
you can brush excess mortar off the design with
a toothbrush or nail brush
if it becomes necessary, use the metal pick from a nutcracker OR a
orangewood manicure stick to remove stubborn mortar
after it is all done, you can use a damp sponge OR paper towel
to the top to remove dust residue
LET THE STONE SIT TOP SIDE UP FOR A FEW DAYS
CLEAN UP THE WORK AREA
if you used a shower curtain, after you put things away
you will have topper in a plastic bag to be used later
take the mortar bucket, wooden spoon & anything that needs
to be cleaned off & fold them inside the shower curtain
take the shower curtain outside & use a hose to clean up
DO NOT USE A SINK!
you can dump the residual mortar, dust & toppings into
a trash receptacle OR the garden


Hammer a screwdriver at the edge to break the mold

Sent from my Samsung Epic™ 4G

Flowers in the back yrad

Sent from my Samsung Epic™ 4G

Saturday, February 26

5 done

Sent from my Samsung Epic™ 4G

Green leaf

Sent from my Samsung Epic™ 4G

Done

Sent from my Samsung Epic™ 4G

Done

Sent from my Samsung Epic™ 4G

Uncover more stones

Sent from my Samsung Epic™ 4G

Need to clean it up

Sent from my Samsung Epic™ 4G

Less than 1/2 stuck. :-(

Sent from my Samsung Epic™ 4G